In this article you will learn how to:
Info! In order for photos to be seen on a website by everyone, they have to be stored online. So, if you don’t already have a Photos component, add that now.
Create A Photo Album
How to create a photo album:
- From within the Client Area, beneath the tools icon, choose “Edit your website content”.

- Choose “Photos”.
- Select “Add New” to create a new album.
- Name the album.
- Add an album description if necessary.
- Finish by pressing “Save”.
Congratulations! You have successfully created a photo album!
Upload Photos
How to upload photos to your album(s):
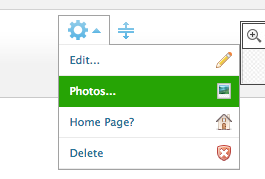
- Choose the gear icon next to the previously created album you want to insert photos into. Select “Photos” from the dropdown.
- Click “Upload”.
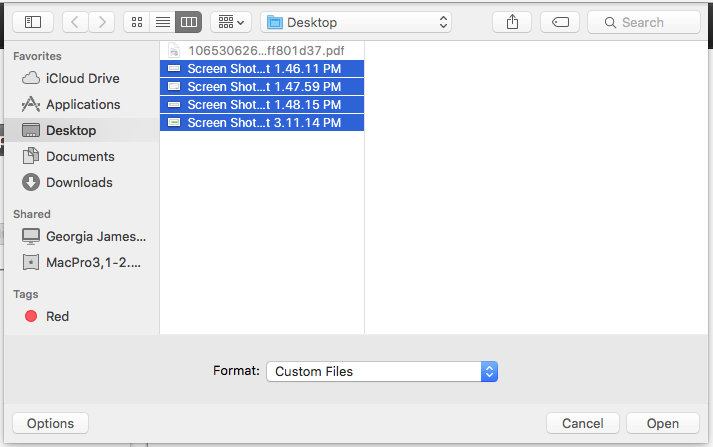
- Browse to select photos from your computer.
- Select the desired photos and press “Open”.
- Click “Upload” to add the photos.
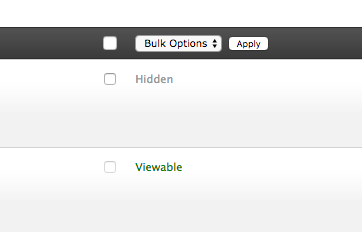
- Once the photos have been uploaded, caption each photo as needed. The photo album will become visible as soon as photos are in it. If you want certain albums to remain hidden click the word “Viewable” to change it to “Hidden”.
- Press “Save” to finish.
Yay! You have successfully uploaded photos into your album!