Info! Upgrade your site to leave behind “Intro” & gain “Hero”! With the “Hero” feature, you can add background images, videos, or other graphics to the top of your site 24/7! Contact us for more information & upgrade today!
You can add a graphic to Hero to personalize your website even more! Here’s how:
- From within the Client Area, beneath the tools icon, choose “Edit your website content”.

- Go to the component whose “Hero” graphic you’d like to edit. In this example, I am using “Home Page Deluxe”.
- Select “Hero”.

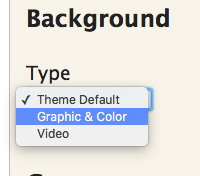
- Under the “Type” dropdown, select “Graphic & Color”.
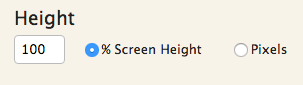
- Change the “Height” as desired.
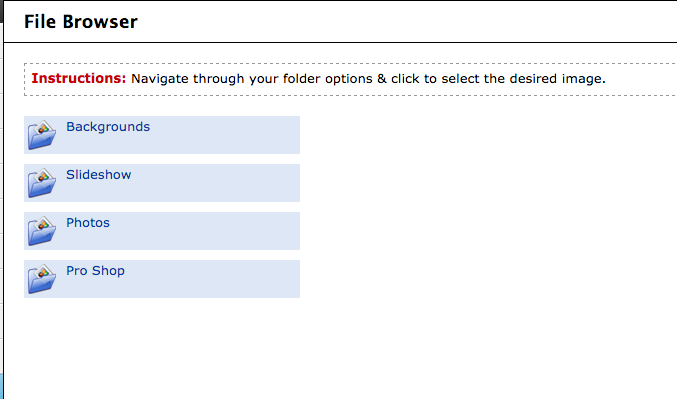
- Beneath the “Graphic” field, click “Browse” and select the desired graphic from your uploaded photos. We have provided you a “Backgrounds” album with some graphic designs you may use as well.
- Select your Hero’s “Size”.

- “Cover” will cause your graphic to cover the entire Hero area.
- “Normal” is the original size of the uploaded image.
- “Tile”, “Tile Horizontally”, and “Tile Vertically” will repeat your graphic accordingly.
- For “Attachment”, choose how your Hero graphic will be attached to the page. For instance, “Fixed” means the graphic will be fixed to the browser window and the content will scroll over it. Whereas, “Scrollable” means the graphic will scroll with the content.
- Select how you’d like your Hero graphic to be anchored to its space by editing its “Position”. Choose the option that allows the focal point of your image to always be viewed in any computer, tablet or mobile device.
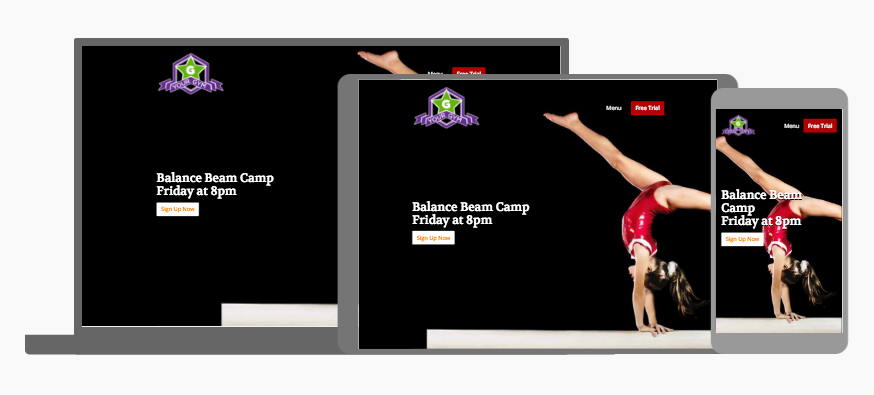
For example, let’s look at the following image. You’ll notice its focal point is the gymnast on the bottom right.

Now when your Hero’s “Position” is set to “Bottom Right”, notice the gymnast is visible on all devices.
If you mistakenly set the “Position” to “Bottom Left”, you’ll notice the gymnast is no longer always visible on smaller screen sizes, because you’ve told Hero to focus on the left side of the image vs. the right.
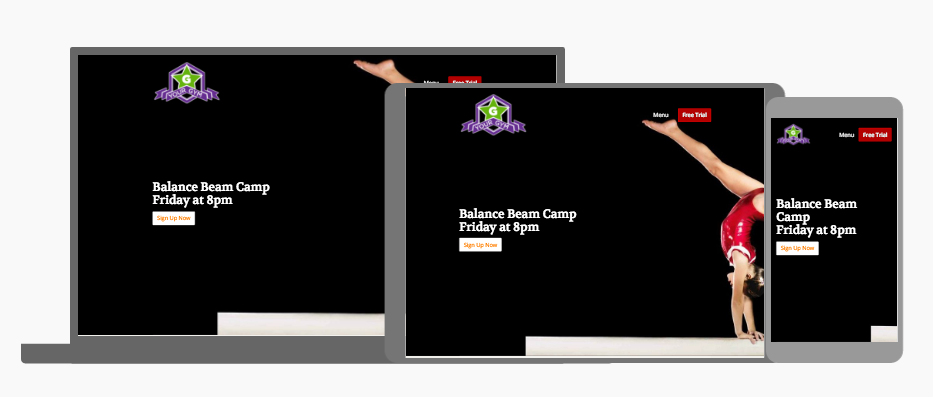
So, as you can see, tell Hero where the focal point of your picture is in order to always get the best results!
- Select the “Background”, “Text”, and “Text Shadow” colors, if desired.
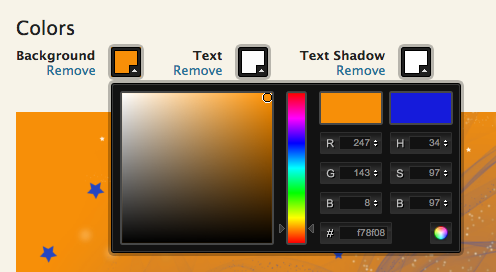
- Customize the Hero graphic further by editing the “Hue”, “Saturation”, “Brightness”, and “Opacity” settings. Just grab the dot and slide it left or right!
If using images outside of the “Backgrounds” folder, editing “Hue” will have no effect.

Info! To reset: change the Hue to 0 degrees, Saturation to 100%, Brightness to 50%, and Opacity to 100%.
- Now edit your Hero’s content as needed. This is a great opportunity for an awesome H1 page title. Doing so helps in 2 major ways:
- A great page title helps orient your web audience. That way they know where they are in your website!
- Headings are highly regarded in the search engine world – and none more so than an H1. So, help your content be found on the internet! To learn more tips on great content editing, view our Purpose Driven Content articles.
- Save when finished.
Hooray! You have successfully added a graphic to your page’s Hero.