Did you know?
You can create an enrollment-based invoice that pre-fills your new invoice with all the enrollment particulars, such as price and accounting’s ‘Income Category’ & ‘Income Program’. These values can certainly be overridden. Pre-filling just makes the process a little easier.
Or you might consider creating a mass invoice that invoices a whole slew of clients. You can find that in the main menu under “Tools / Mass Invoice”. And since we haven’t written that article yet, if you can’t manage it on your own, give us a shout!
Add a general invoice to an account.
- Locate the account you’d like to invoice.
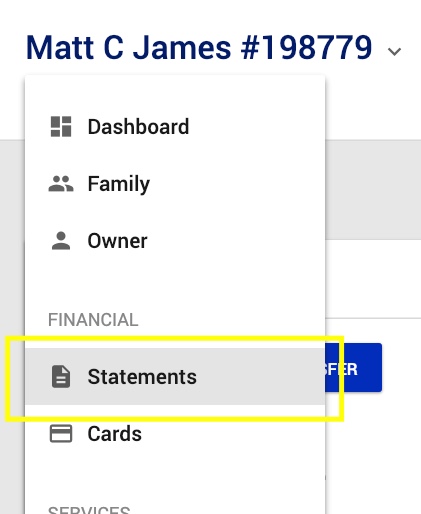
- Hover over the heading dropdown menu and select ‘Statements’.
- Hover over ‘Add’ to display a list of additional options.
- Under the ‘Invoice’ block of options, select ‘General’.

- Make sure to update…
- Amount: the $ amount of the invoiced item.
- Subject to late fees?: Let Snap know if this invoice will incur late fees (if applicable) if it goes unpaid within the time constraints of the billing cycle.
- Bill Description: the title of the invoiced item. For example: “Choreography Fees”
- Notes: Additional details about the invoice. For example: “All choreography fees must be paid in full by 1/1/2018 in order to be eligible to participate.”

- Now let’s move on to “Accounting”…
- Billing Cycle: which billing cycle (month), does this invoice belong to?
- Income Category & Income Program: these accounting buckets help you keep up with the profitability of different aspects of your business. Read more about these settings.

- Save when complete by clicking ‘Add’.
Ta-da! That’s how you roll!