In this article you’ll learn how to add an enrollment. There are two ways to do so:
- Through a member’s account in People.
- Through a class in Class Catalog.
People
- From the App Menu select ‘People’.
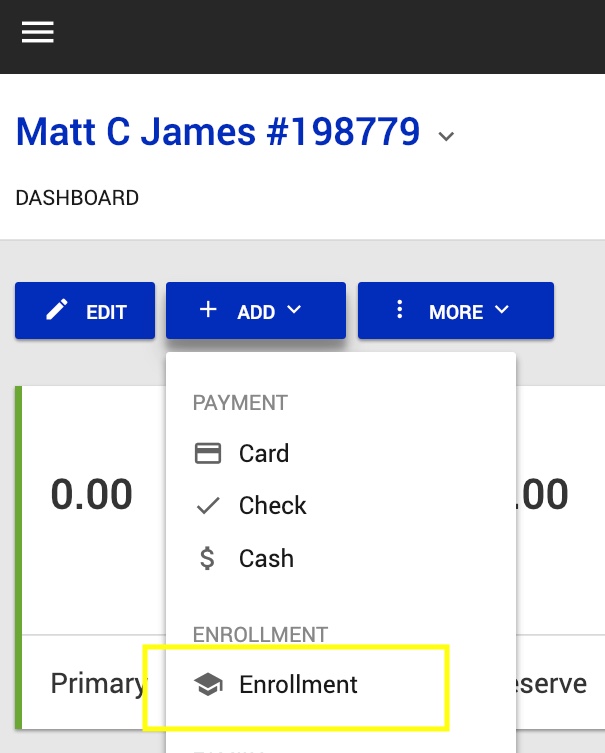
- Locate the ‘Add’ button & activate its dropdown. Choose ‘Enrollment’ from its options.
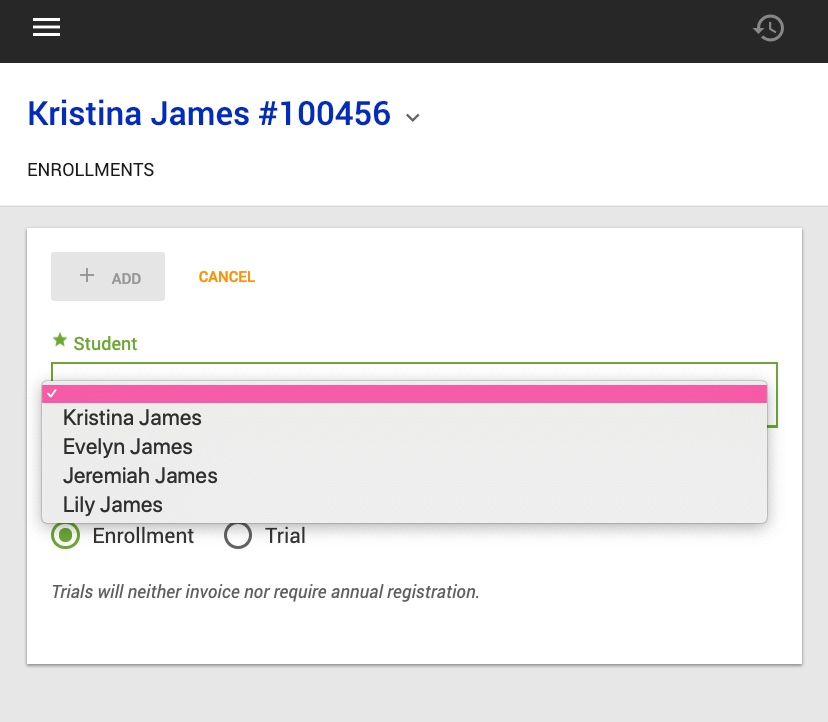
- Begin by selecting a student. By doing so, Snap will filter those classes for which the student qualifies.
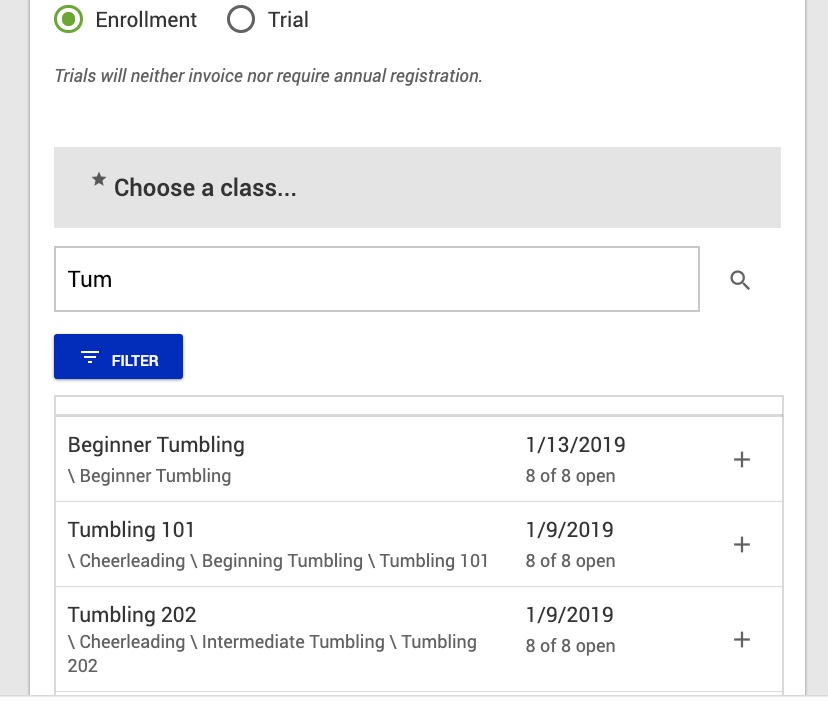
- Search for & select a class.
- Select a ‘Start Date’.
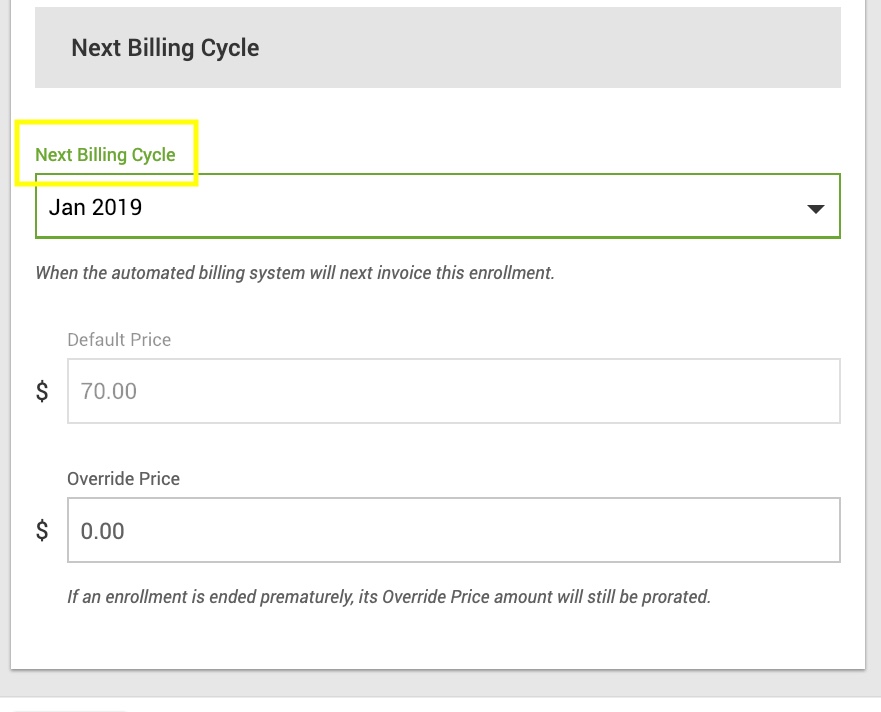
- Edit any necessary fields including ‘Next Billing Cycle’ or ‘Override Price’ as needed. Save when complete.
Info! Just in case you’re wondering how to end an enrollment, check out Remove an Enrollment and follow those instructions.
Warning! The system WILL NOT invoice a client that has been manually enrolled in this fashion until the NEXT Billing Cycle. If they need to be invoiced for the current month, please go to their account and create an invoice for them.
Class Catalog
- From the App Menu, select ‘Classes’. Then choose ‘Class Catalog’.

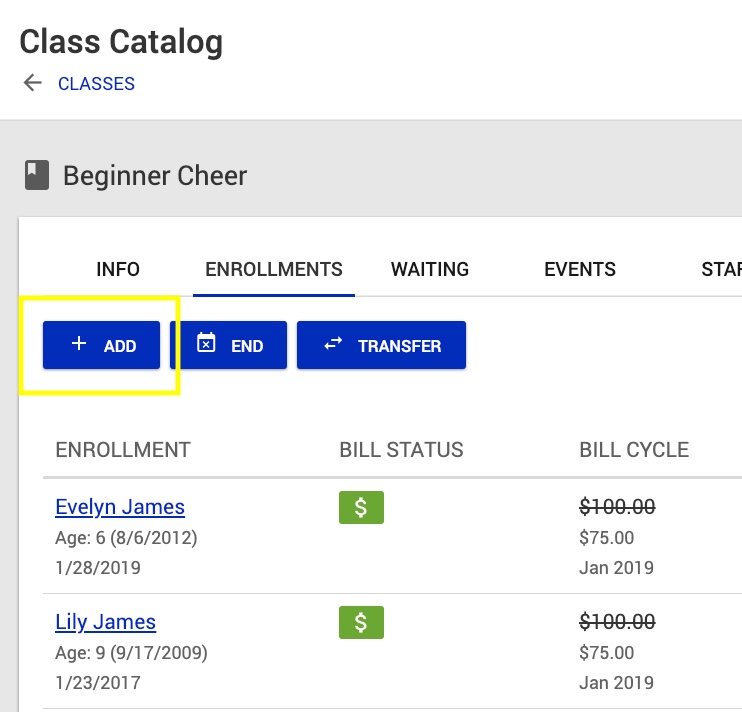
- Locate & select the class.
- After selecting the ‘Enrollments’ tab, click ‘Add’.
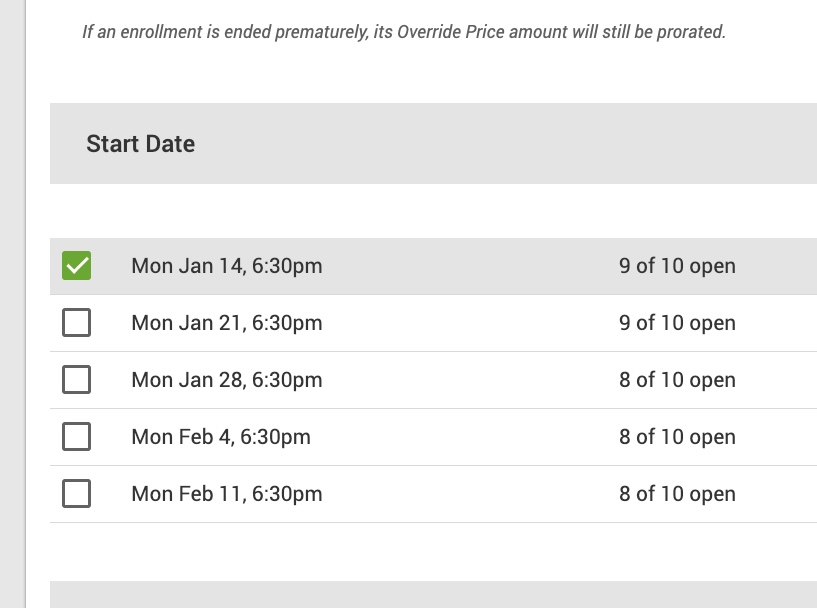
- Edit any necessary fields including ‘Enrollment Type’, ‘Next Billing Cycle’, or ‘Override Price’ as needed.
- Select the ‘Start Date’…
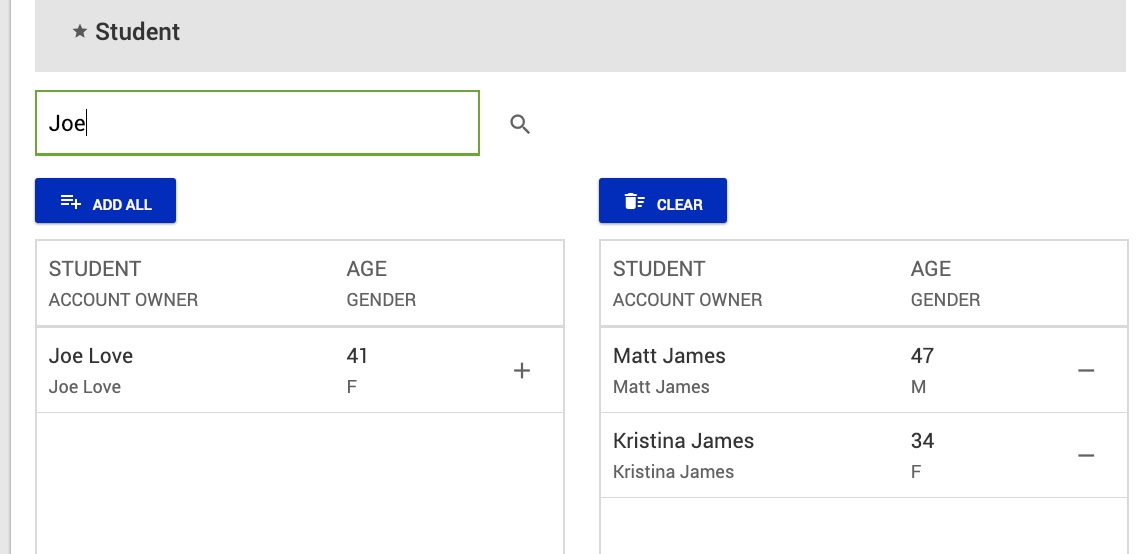
- …and then add students. You can add any number of students by simply typing their name & then selecting them from the list. Be sure to click the ‘Add’ button to complete your form submission.
Warning! The system WILL NOT invoice a client that has been manually enrolled in this fashion until the NEXT Billing Cycle. If they need to be invoiced for the current month please go to their account and create an invoice for them.
Congrats! You can successfully add enrollments.